I worked on the padding for the strawberry leaves while at the beach for Thanksgiving. Below are a few photos of the strawberry leaves ready to be appliqued to the dress.


 After all the stems have been thread traced, I tore the tissue paper away very, very carefully.
 Using silk thread, I hand sewed (using a running stitch) along the stem design lines, stitching through tissue paper and body fabric.
 Each tissue paper pieces is then cut out and pinned to the dress (making sure to pin on design lines to avoid pin marks in fabric).
 I traced my design onto thin, giftwrapping tissue paper (this will tear away easier).
 I machine sewed the seams, clipped the seam allowance, and pressed all seam allowances open.
 Each piece has been hand overcast to attach the backing to the body panels. The bottom edge of each cotton piece has also been hand overcast.
 Each piece has been backed with cotton to the low hip line.
 Final layout of Front bodice
 Metal thread layout for front bodice.
 Final layout for Back bodice.
 Padding layout for Back bodice.
 Close-up of metal thread layout on Center Back panels. I chose to have the designs end on each Center Back panel instead of matching at Center Back to ensure the design would not interfere with the button closure.
 Metal thread layout for back bodice.
 All layouts stacked on top of each other to see the padding layout with the metal thread layout.
 Finally, I hand stitched the front of the bra top down. (The back portion will be stitched down after I finish the placket.)

 Bra top attached to cotton tulle bodice. Bust cups sewn into place. The seam allowance have been overcast and stitched down.


 Bust cups sewn together.
 Pinning the pieces together.
 Seam allowance trimmed off so edges are stitched closed.
 Each piece is machine stitched around all edges.

 Cotton tulle bodice pieces lined up after being hand basted.
  Close up of hand basted tulle bodice pieces.
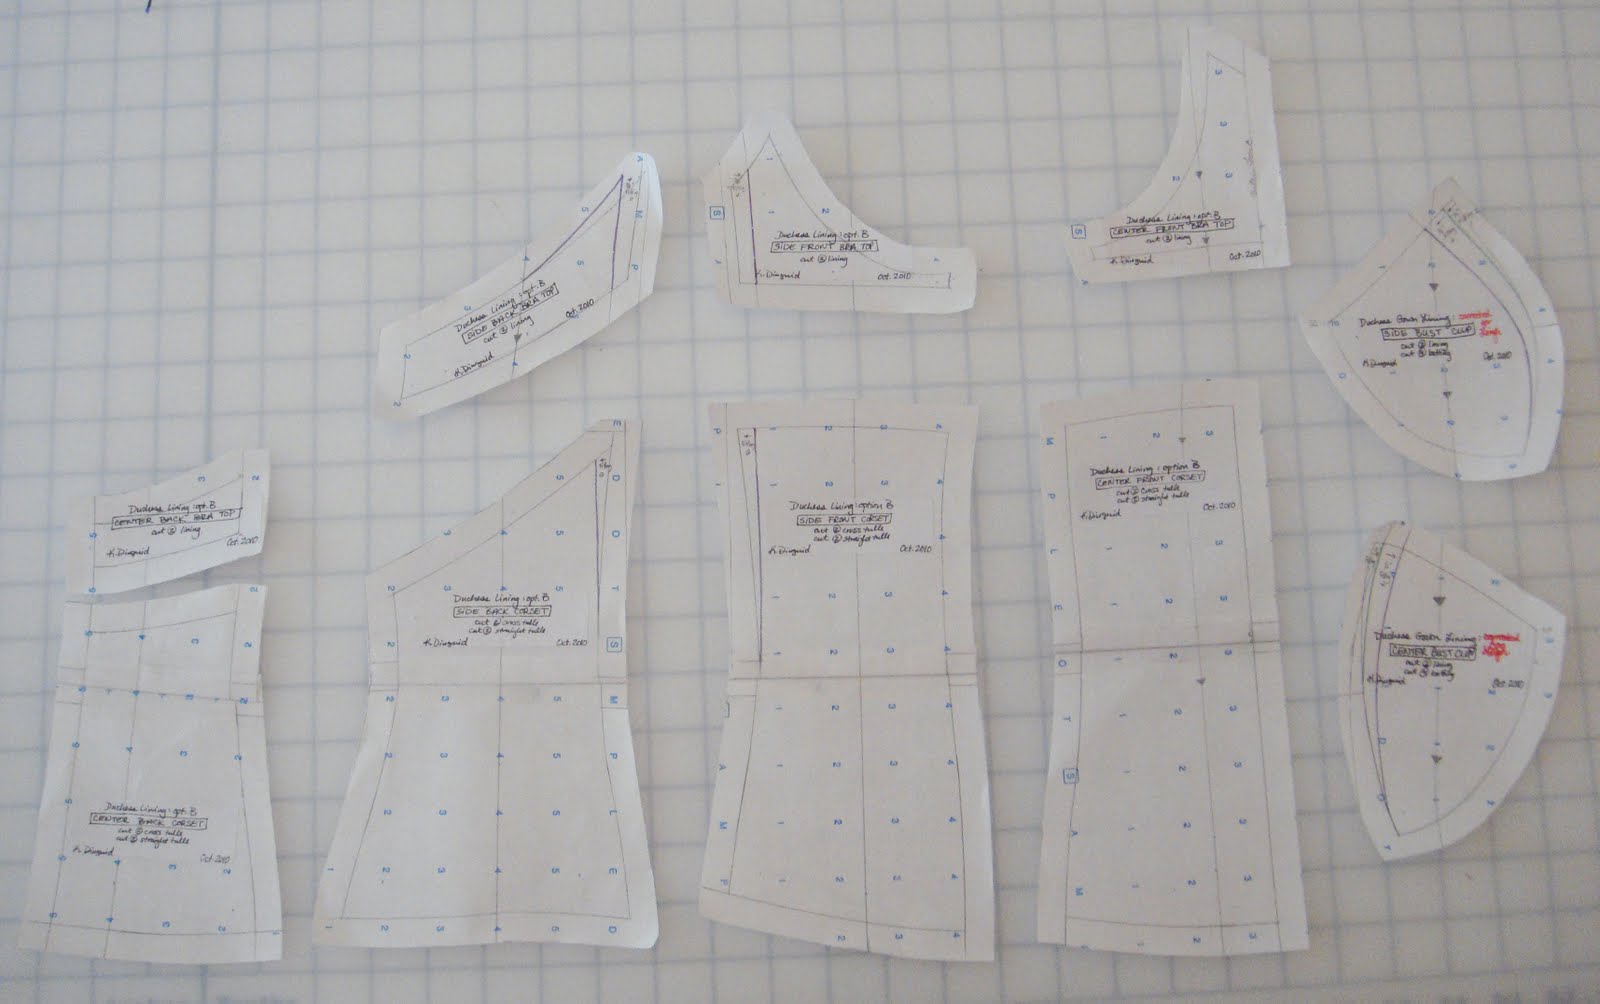 The full Duchess Petticoat bodice pattern after corrections.
 Cutting the tulle on straight and cross grains.


